Toggle navigation
Home
About
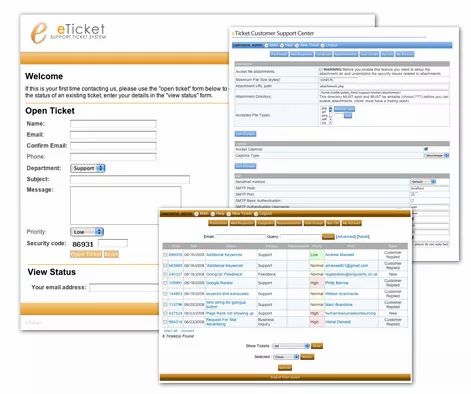
Screenshots
Downloads
Support
Community
Skip to content
Welcome to eTicket!
View Features
Downloads
eTicket 1.7.3 .zip (Latest Release October 23, 2008)
eTicket 1.7.3.tar.gz (Latest Release October 23, 2008)
eTicket Server Compatibility Troubleshooter
More Downloads
How to Install
Configuration
Upgrading
Vote For Us!
Announcement
More Announcement
Community Forum
eTicket Update
by jason
.
Go to Community Forum
Issue Tracker
Go to Bugs
Donate
Sponsor
What you are waiting for?
DOWNLOAD NOW!
Sign up our newsletter
First Name
*
Last Name
Email
*
Email
This field is for validation purposes and should be left unchanged.
Δ